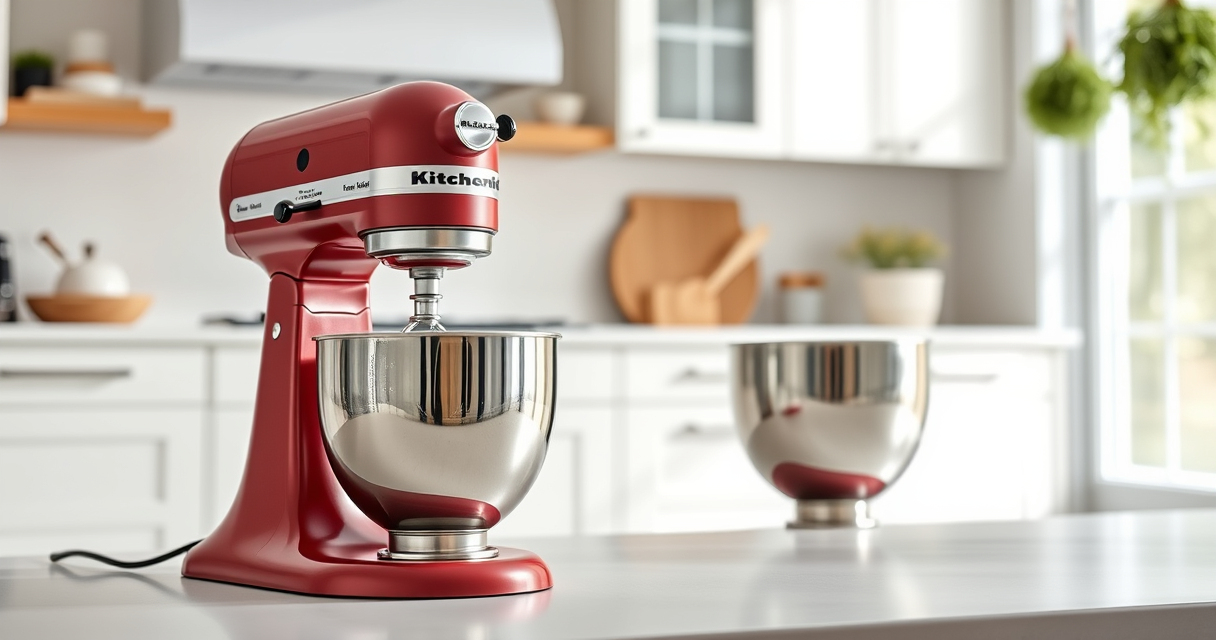
The KitchenAid Artisan mixer is a versatile kitchen essential that requires regular cleaning to ensure optimal performance and longevity. Proper cleaning involves careful disassembly, gentle cleaning methods, and safe handling to prevent damage.

Get kitchen staples and gadgets delivered free with Prime
- Fast, free delivery on millions of items
- Prime Video, Amazon Music and more included
- Member-only deals all year
Follow these clear, step-by-step instructions to keep your mixer spotless and functioning smoothly.
Gather Your Supplies
- Soft cloths or sponges
- Warm water and mild dish soap
- Soft-bristled brush
- Dry microfiber cloth
- Optional: Vinegar or baking soda for tough stains
Products Worth Considering

KitchenAid Artisan Series 5-Quart Tilt-Head Stand Mixer, Dried Rose

KitchenAid 3-Piece Pasta Roller and Cutter Set for Stand Mixers

KitchenAid 5-Ply Clad Stainless Steel Roaster with Rack, 15 x 11.5 Inches
As an affiliate, we earn on qualifying purchases.
Unplug and Disassemble
- Ensure the mixer is unplugged from the power outlet.
- Remove any attachments, such as the paddle, dough hook, or flat beater, by releasing the attachment lock.
- Take off the mixing bowl carefully.
Clean Attachments and Bowl
- Wash all removable parts with warm, soapy water. Use a soft sponge to avoid scratching surfaces.
- Rinse thoroughly and dry with a microfiber cloth.
- For stubborn residue, soak parts in a mixture of warm water and vinegar or baking soda before scrubbing.
Clean the Mixer Body
- Wipe down the mixer body with a damp cloth; avoid using abrasive cleaners or harsh chemicals.
- Use a soft brush or toothbrush to clean around the attachment hub and crevices.
- Dry thoroughly to prevent moisture buildup.
Reassemble and Maintain
Once all parts are dry, reattach the accessories and bowl. Store your mixer in a clean, dry place. Regularly check and tighten attachment connections for safety and performance.
Products That Help

KitchenAid Stand Mixer Attachment
- ✔ Dishwasher Safe: No
- ✔ Pre-chill Required: Yes
- ✔ Attachment Hub: Yes
KitchenAid Stand Mixer Attachment
The KitchenAid Metal Food Grinder attachment expands your mixer’s capabilities, allowing you to grind fresh meats, vegetables, and more. Easy to clean and store, it’s perfect for homemade recipes.
Pros:
- Durable metal construction
- Multiple grinding plates
- Easy to clean and store
- Compatible with all KitchenAid stand mixers
Cons:
- Requires pre-chilling for best results
- Sold separately, needs attachment hub
Best for: Grinding meats, vegetables, and creating custom ingredients
Not ideal for: For those who don’t plan to grind frequently
Bottom line: A versatile, durable attachment for fresh grinding needs.
Frequently Asked Questions
Can I wash my KitchenAid mixer attachments in the dishwasher?
It depends on the attachment. Most metal parts like the food grinder are best washed by hand to preserve their finish and prevent damage.
How often should I clean my KitchenAid mixer?
Clean after every use, especially if ingredients like flour or dough are involved, to prevent buildup and maintain performance.
Is it safe to use abrasive cleaners on my mixer?
No, abrasive cleaners can scratch and damage the surface. Use soft cloths and mild soap for safe cleaning.
How do I remove stubborn stains or residue?
Soak the parts in warm water with vinegar or baking soda before scrubbing gently with a soft brush.
Affiliate disclosure: As an Amazon Associate we earn from qualifying purchases. Prices and availability are accurate as of the time of publishing.