
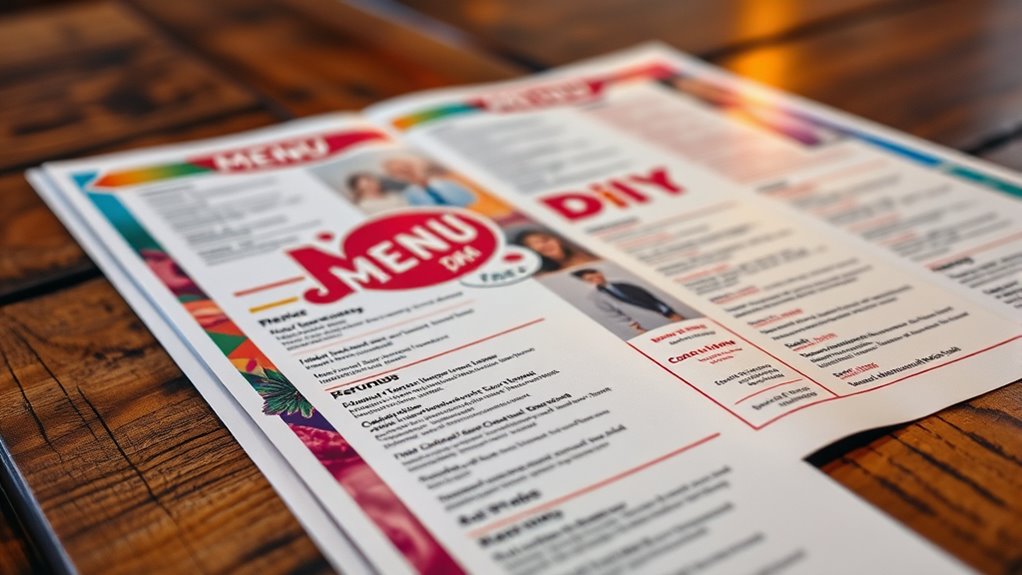
Choosing between DIY and professional menu photography depends on your budget, skills, and quality expectations. DIY offers control, cost savings, and quick updates, but it can be challenging to get professional-looking images without experience and proper equipment. Hiring a pro guarantees polished, consistent photos that can boost your menu’s appeal and sales, though it involves higher upfront costs. If you want to learn how to make the most of both options, keep exploring these strategies.
Key Takeaways
- DIY photography offers cost savings and creative control but may compromise image quality without proper skills and equipment.
- Professional photographers provide polished, consistent images that effectively showcase dishes and enhance brand perception.
- Time investment for DIY shoots is significant, while professionals deliver quick, efficient results, saving valuable restaurant resources.
- Long-term, high-quality images from professionals can boost sales and brand recognition, outweighing higher upfront costs.
- Proper lighting, backgrounds, and angles are critical for effective menu photos, whether DIY or professional, to attract customers.

NEEWER 700W Equivalent Softbox Lighting Kit, 2Pack UL Certified 5700K LED Lighting Bulbs, 24×24 inches Softboxes with E26 Socket, Photography Continuous Lighting Kit Photo Studio Equipment
The kit includes (2) 24"X24"/60x60cm Softbox + (2) 35W 5700K LED Light Bulb (total equivalent to 700W regular…
As an affiliate, we earn on qualifying purchases.
As an affiliate, we earn on qualifying purchases.
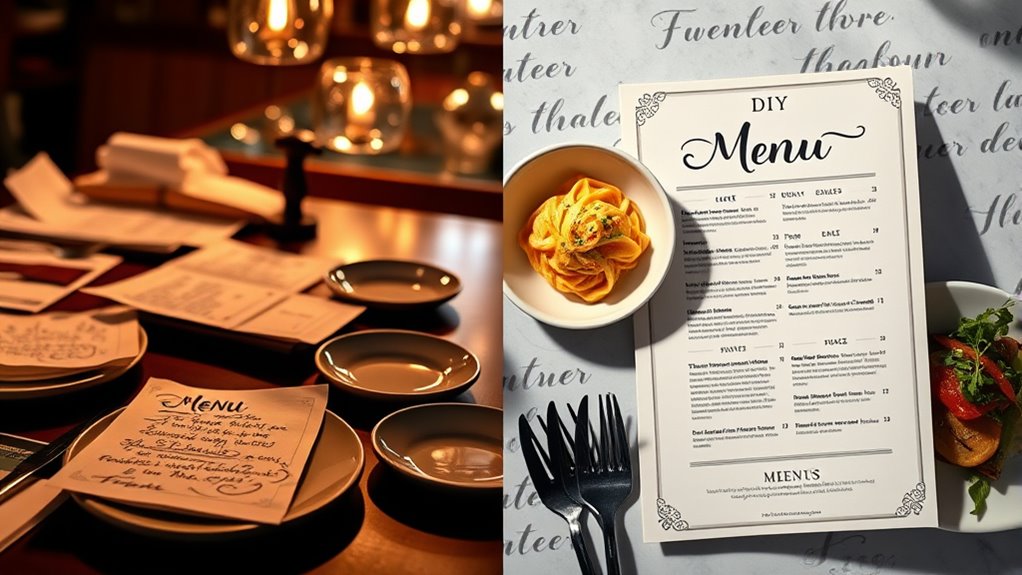
Advantages of DIY Menu Photography
Doing your own menu photography offers several key advantages. First, you gain full control over the creative process, allowing you to showcase your dishes exactly how you want. You can experiment with lighting, angles, and styling without needing approval or scheduling with a photographer. This flexibility means you can update photos quickly whenever your menu changes or new dishes are introduced. Additionally, DIY photography is cost-effective, saving you money on hiring professionals and multiple shoots. Over time, you’ll develop skills that make your images more authentic and aligned with your brand identity. Finally, you can maintain a consistent visual style, helping to build a recognizable look that resonates with your customers. Sound healing science offers insights into how visual harmony and calming aesthetics can enhance customer experience and perception. All these benefits help you keep your menu appealing and current without breaking the bank.

8K Digital Camera, 88MP WiFi Cameras for Photography with 3.2" Touchscreen, 16X Zoom Autofocus Professional Dual Camera, Anti-Shake, 2 Batteries & Charging Stand, 64GB Card, Flash, Lens Hood
【8K Clarity Meets 6-Axis Stability】The digital camera capture every moment in breathtaking detail with true 8K UHD video…
As an affiliate, we earn on qualifying purchases.
As an affiliate, we earn on qualifying purchases.
Challenges of Taking Food Photos Yourself

While capturing appealing food photos yourself can save money and give you creative control, it also presents several challenges. First, lighting can be tricky; natural light may not be consistent, and artificial lighting can cause unwanted shadows or color cast. Second, framing and composition require skill; without experience, your photos might look flat or unappealing. Third, handling camera settings like aperture, shutter speed, and focus demands technical knowledge, which can be overwhelming. These issues can result in photos that don’t do justice to your dishes, making your menu less enticing. Mastering photo composition is essential for creating visually appealing images, but it requires practice and understanding of visual storytelling. Overcoming these obstacles requires practice, patience, and often additional equipment, which may not be immediately accessible. Recognizing these challenges helps you understand when professional help might be a worthwhile investment.

Metlakat Food Photography Backdrops, 23x35inch 10Pcs Double-Sided Product Background Paper (20 Patterns), Photo Backdrop Board with T-Stand & Clamps for Jewelry, Cosmetics
EXTRA LARGE 23" × 35" PHOTO BACKDROP – Oversized product photography backdrop provides plenty of space for wide-angle…
As an affiliate, we earn on qualifying purchases.
As an affiliate, we earn on qualifying purchases.
Benefits of Hiring a Professional Photographer
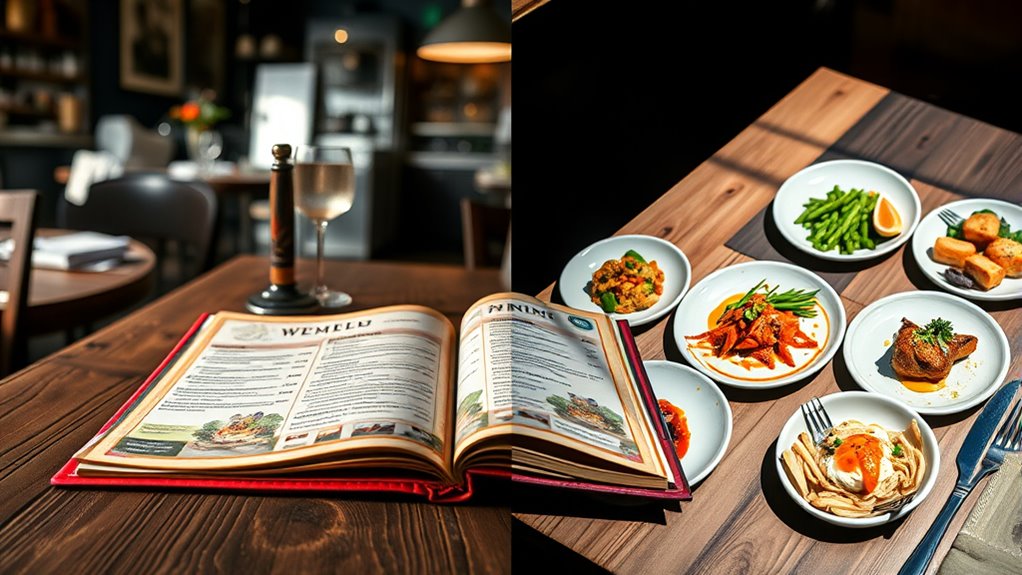
Have you considered how much a professional photographer can elevate your menu’s appeal? A skilled photographer knows how to highlight your dishes’ best features, making them look irresistible. They understand lighting, angles, and composition, ensuring each photo captures the dish’s texture and vibrancy. This expertise results in high-quality images that grab customers’ attention and evoke cravings. Professional photographers also bring consistency across your menu, creating a cohesive look that reinforces your brand. Plus, they use professional equipment and editing techniques to produce sharp, polished images. Investing in a professional ensures your menu photos won’t look amateurish or outdated, helping you stand out in a competitive market. Ultimately, high-quality visuals can boost customer interest, increase orders, and enhance your restaurant’s reputation. Additionally, leveraging AI-generated content can help create engaging visuals and descriptions to complement your photos, further attracting customers.

LUXSURE Ring Light with Stand for Desk,Adjustable Overhead Phone Mount with 10" Selfie Light Phone Tripod with Ring Light and Remote, Phone Stand with Light for Video Recording,Live Stream,Cooking
【Capture Every Angle with Less Effort】Quickly switch between top-down, side, close-up, and face-to-camera shots with ease. The adjustable…
As an affiliate, we earn on qualifying purchases.
As an affiliate, we earn on qualifying purchases.
Factors to Consider When Choosing Between DIY and Professional
When deciding between DIY and hiring a pro, your budget plays a big role. Consider whether you have the skills and equipment needed to produce high-quality photos yourself. Sometimes, investing in a professional can save you time and guarantee your menu looks its best. Additionally, understanding the importance of copyright and disclosure can help you ensure your images are used ethically and transparently.
Budget Constraints and Costs
Considering your budget is crucial when deciding between DIY and professional menu photography. Your costs can vary greatly depending on the route you choose. DIY options often require minimal investment upfront but may involve purchasing equipment or editing software, which can add up over time. Conversely, hiring a professional entails higher initial expenses, including paying for photography services, but can save you time and ensure quality. Incorporating mindfulness techniques such as focused visualization can help streamline your decision-making process and reduce stress. Here are some key factors to contemplate: 1. Equipment and Software Costs: DIY may require a camera, lighting, and editing tools. 2. Time Investment: DIY can be time-consuming, affecting your overall costs. 3. Long-term Value: Professional images might boost sales and reduce the need for re-shoots, offering better ROI.
Skill and Equipment Level
Your skill level and the equipment you have play a pivotal role in deciding whether to go DIY or hire a professional for menu photography. If you’re comfortable with a camera, understand lighting, and have editing skills, DIY might be a viable option. However, if your photography experience is limited or your equipment is basic, achieving high-quality images could be challenging. Professional photographers bring expertise, advanced gear, and studio setups that ensure sharp, well-lit, and appealing photos. They also understand styling and composition, which can elevate your menu’s presentation. Consider your technical abilities and the equipment at your disposal before making a choice. If your skills and tools are lacking, investing in a professional could save you time and result in more attractive, effective images. Additionally, understanding the resources and tools available can help you make a more informed decision about whether to pursue DIY or hire a professional.
Cost Implications of Both Approaches
When comparing DIY and professional menu photography, you’ll want to weigh the equipment costs involved, as well as the time and effort required on your part. Professional options may have higher upfront expenses but can save you time and produce higher-quality results. Additionally, investing in high-quality equipment such as professional cameras and lighting can significantly impact the overall outcome. Ultimately, it’s important to evaluate these costs against the long-term benefits each approach offers for your business.
Equipment Investment Costs
Investing in equipment for menu photography varies considerably depending on the approach you choose. If you go DIY, you’ll likely spend less upfront but may need to buy basic gear like a smartphone, a tripod, and some lighting accessories. This setup can cost anywhere from a few hundred dollars to over a thousand, depending on your choices. On the other hand, hiring a professional involves significant investment in high-end cameras, lenses, lighting, and editing equipment, often totaling several thousand dollars. Consider these factors:
- Camera and lens quality
- Lighting equipment and modifiers
- Post-processing tools and software
- The cost implications of both approaches can also influence your decision based on your budget and desired outcome.
Your decision impacts your initial costs and potential quality, so weigh your budget against the desired results carefully.
Time and Labor Expenses
Choosing between DIY setup and hiring a professional considerably affects the time and labor involved in menu photography. Doing it yourself may save money but requires significant effort. You’ll need to dedicate hours to setting up lighting, arranging dishes, taking multiple shots, and editing images. This process can be time-consuming, especially if you’re unfamiliar with photography techniques. On the other hand, hiring a professional can streamline the process. A professional photographer has the experience and equipment to quickly produce high-quality images, reducing the time you spend on shooting and editing. Additionally, utilizing proper lighting techniques can greatly improve the quality and efficiency of your photos. However, it often comes with higher upfront costs. Overall, DIY photography demands considerable personal effort and time investment, while hiring a pro shifts the workload but adds to your expenses. Consider your schedule and resources to choose the best approach.
Long-term Financial Impact
Opting for DIY menu photography might save you money upfront, but it can lead to higher long-term costs if you lack the necessary skills or equipment, resulting in repeated shoots or extensive editing. Poor image quality or inconsistent lighting can diminish your menu’s appeal, forcing you to re-photograph or hire professionals later. Additionally, investing in subpar equipment may require frequent upgrades or replacements, increasing expenses over time. Using eye patches as an analogy, just as they provide temporary benefits but require consistent use for lasting effects, investing in quality photography can offer longer-lasting results that reduce the need for rework. Consider these factors: 1. Re-shoots and edits: Poor initial images may necessitate multiple attempts, costing both time and money. 2. Equipment upgrades: Low-quality gear can lead to higher long-term expenses. 3. Lost sales: Unappealing photos might reduce customer interest, impacting revenue.
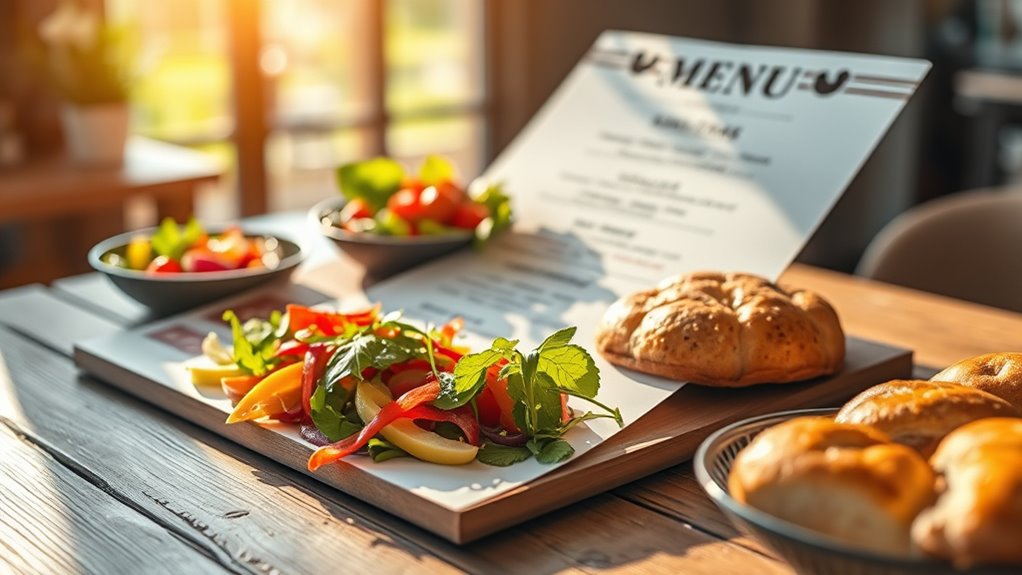
Tips for Maximizing Your Menu Photography Results

To maximize your menu photography results, focus on capturing images that highlight the most appealing aspects of each dish. Use natural lighting whenever possible, as it makes food look fresh and vibrant. Keep the background simple to make the dish stand out, and avoid clutter that distracts from the main subject. Experiment with different angles—overhead shots showcase the full plate, while close-ups emphasize texture and detail. Confirm your camera or smartphone is steady to prevent blurriness, and take multiple shots to find the best one. Edit your photos lightly to enhance colors and brightness without overdoing it. Remember, appealing images evoke cravings, so aim to showcase your dishes at their most tempting.
Frequently Asked Questions
How Do Lighting Conditions Affect Menu Photography Quality?
Lighting conditions play a vital role in menu photography quality. Poor lighting can make your food look dull or unappetizing, while good lighting highlights textures and colors, making dishes more appealing. Natural light tends to work best, but if you’re indoors, use diffused light sources to avoid harsh shadows. Adjust brightness and contrast to guarantee your photos accurately represent the food’s freshness and appeal, enticing customers to order.
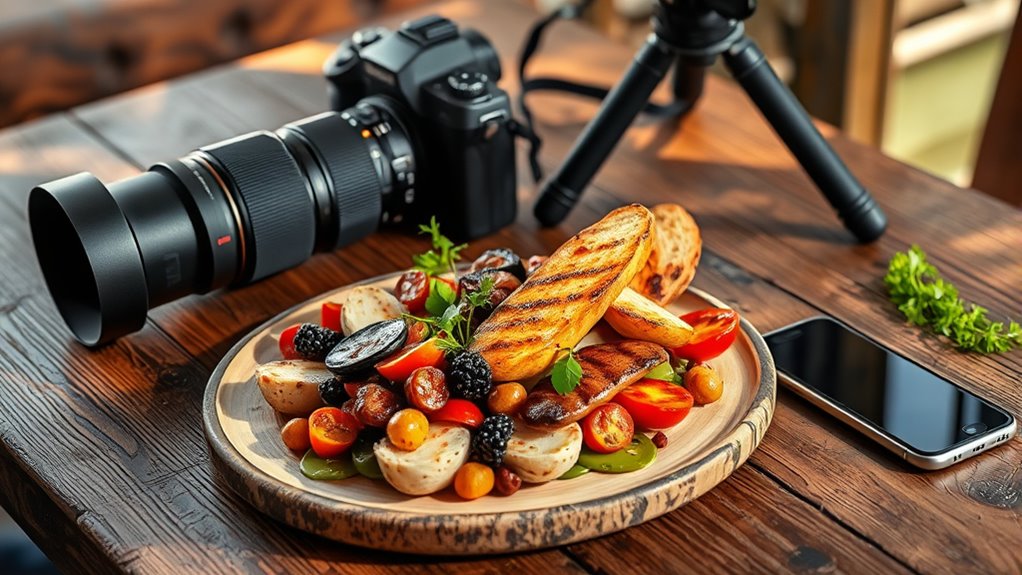
What Equipment Is Essential for Professional-Looking Menu Photos?
Imagine a sleek camera capturing vibrant dishes, the right lights highlighting textures and colors. For professional-looking menu photos, you need a high-quality DSLR or mirrorless camera, a set of softboxes or diffusers to control lighting, and a sturdy tripod for stability. A lens with a wide aperture guarantees sharp focus, while a reflector helps bounce light. These essentials elevate your photos, making dishes irresistible to viewers.
How Long Does It Typically Take to Shoot a Menu Professionally?
When you’re shooting a menu professionally, it usually takes anywhere from a few hours to a full day, depending on the number of dishes and complexity. You’ll want to plan for setting up each shot, adjusting lighting, and capturing multiple angles. Don’t rush—quality takes time. With proper preparation, you can streamline the process, but remember, patience guarantees your photos look polished and enticing to customers.
Can DIY Photos Match the Quality of Professional Studio Shots?
Did you know that 60% of consumers say food presentation influences their ordering decisions? When asking if DIY photos can match professional studio shots, it depends on your skills and equipment. While DIY can work for casual needs, professional shots often have superior lighting, styling, and editing. If you want high-impact images that boost sales, investing in a professional photographer usually delivers better results.
What Legal Considerations Are Involved in Food Photography Licensing?
When you’re involved in food photography licensing, you need to understand legal considerations like obtaining model or property releases if people or private locations are featured. You should also guarantee you have the rights to use any copyrighted elements, like branded packaging or artwork. Always clarify licensing terms, whether for commercial or personal use, to avoid legal issues. Consulting a legal professional can help you navigate these licensing requirements effectively.
Conclusion
Ultimately, whether you choose DIY or hire a pro, remember that your menu’s photos are your restaurant’s first impression—like a handshake in the dining world. If you’re confident in your skills and want to save a few coins, DIY can work, but don’t let a lack of expertise turn your masterpiece into a mess. Think of it as the difference between a humble tavern and a grand banquet. Choose wisely, and let your menu truly shine.