
To prevent dull, streaky chocolates, mastering tempering is essential. By carefully heating and cooling your chocolate to specific temperatures, you align cocoa butter crystals, resulting in a shiny finish and a satisfying snap. Proper tempering guarantees your chocolates set evenly, look professional, and have the best flavor and texture. If you keep practicing, you’ll discover the secrets to consistently beautiful, high-quality treats that impress every time.
Key Takeaways
- Proper tempering involves precise heating and cooling to control cocoa butter crystallization, preventing dull or streaky chocolate.
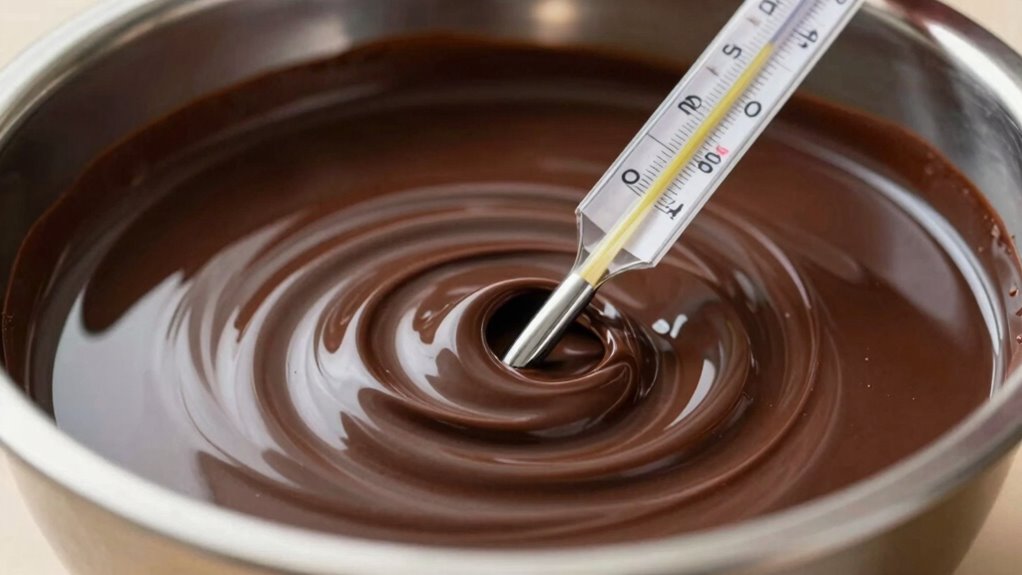
- Using a thermometer ensures chocolate reaches specific temperature ranges for different types, promoting a smooth, glossy finish.
- Correct tempering results in a firm snap and vibrant shine, eliminating streaks and dullness in the final product.
- Avoiding overheating or undercooling during tempering maintains even setting and prevents surface imperfections.
- Mastering tempering enhances chocolate’s appearance and texture, ensuring professional-looking, streak-free treats.
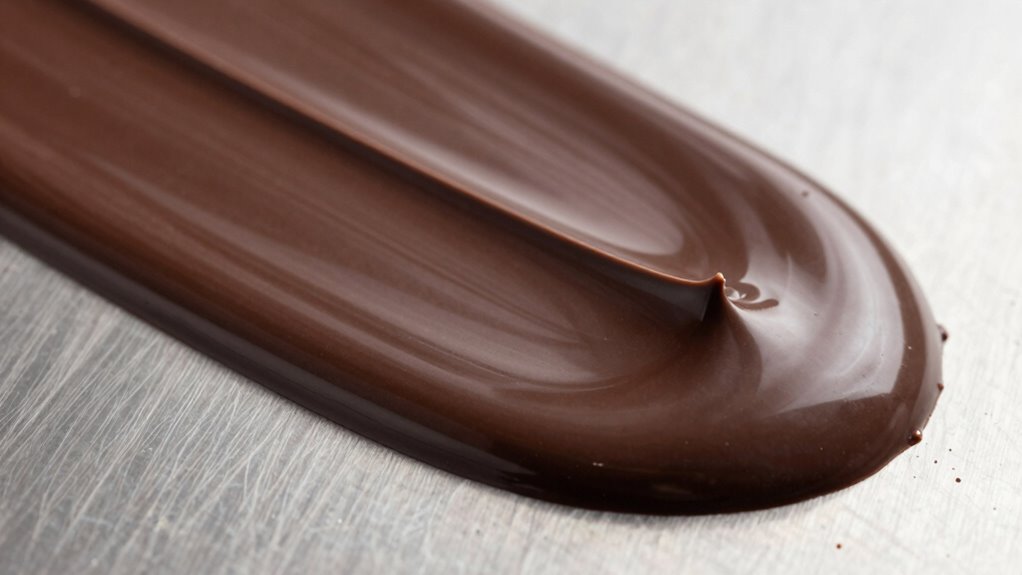
Have you ever wondered why some chocolates have a glossy finish and a satisfying snap, while others seem dull and crumbly? The secret lies in a process called tempering, a vital baking technique that transforms melted chocolate into a smooth, glossy masterpiece. When you master tempering, you guarantee your chocolates not only look stunning but also have that perfect texture and bite. It’s a skill that elevates your baking, allowing you to create professional-quality treats at home. Without proper tempering, chocolates can turn out streaky, dull, or soft, ruining the visual appeal and texture you’re aiming for.
Tempering involves carefully heating and cooling chocolate to control the crystallization of cocoa butter. This precise process aligns the fat crystals, giving your chocolate a shiny surface and firm snap. It’s a bit of a balancing act—too hot or too cold, and you risk dullness or streakiness. Using the right temperature ranges for different types of chocolate (dark, milk, or white) is essential. A thermometer is your best friend here, helping you monitor the process so you don’t overshoot. Once tempered, your chocolate will set evenly, making it perfect for coating truffles, creating decorations, or molding into intricate shapes.
Getting the texture and appearance right opens the door to exploring flavor pairing. When your chocolate is properly tempered, its flavor is more vibrant and well-defined. You can confidently experiment with pairing it with nuts, fruits, spices, or even salted caramel. The glossy finish makes these flavor combinations pop visually, enticing anyone who sees your creations. Properly tempered chocolate also maintains its crispness, which enhances the overall sensory experience. When you bite into a well-tempered chocolate, you’ll notice that satisfying snap, releasing a rich, smooth flavor that’s perfectly balanced. This attention to detail in the baking techniques ensures your flavor pairing efforts are showcased at their best, creating memorable treats.
Frequently Asked Questions
What Types of Chocolate Can Be Tempered Successfully?
You can successfully temper dark, milk, and white chocolate, as they are the most suitable chocolate types for the process. Dark chocolate often has a higher cocoa content, making it easier to temper, while milk and white chocolates require more careful temperature control due to their milk solids and sugar. Using good-quality, unsweetened, or semi-sweet chocolate guarantees you achieve smooth, glossy, and streak-free results every time.
How Do Humidity Levels Affect Chocolate Tempering?
Think of humidity as an uninvited guest at your dance; it can disrupt your perfect chocolate routine. High humidity impacts tempering by introducing moisture, which causes chocolate to seize and develop streaks. To keep moisture regulation in check, work in a cool, dry environment and avoid steam or humid air. This way, you guarantee your chocolate remains glossy, smooth, and beautifully tempered, free from dull streaks.
Can Tempering Be Done Without a Thermometer?
Yes, you can temper chocolate without a thermometer by using visual tempering techniques. Look for signs like a shiny surface and a crisp snap when broken. You can also use thermometer alternatives such as a digital laser or touch test, but visual cues are most reliable. Keep practicing these methods, and you’ll develop a good sense for properly tempered chocolate without relying solely on a thermometer.
How Long Does Tempered Chocolate Stay Stable?
Tempered chocolate typically remains stable for about 6 months if stored properly in a cool, dry place. Its storage stability depends on proper sealing and temperature control, preventing moisture and temperature fluctuations. To maximize shelf life, keep it away from direct sunlight and strong odors. When stored correctly, your tempered chocolate will stay glossy, smooth, and easy to work with, ensuring great results for your treats over time.
What Are Common Mistakes That Ruin Tempering?
Don’t let tempering become your Achilles’ heel. You often ruin it by neglecting temperature control and improper cooling techniques. If you don’t keep the chocolate at the right temperature, it won’t set correctly, leading to streaks or dullness. Avoid rushing the process, and always monitor your temperatures carefully. Remember, precision is your best friend in achieving glossy, perfectly tempered chocolate that looks as good as it tastes.
Conclusion
Mastering chocolate tempering is like guiding a delicate dance—you need patience and precision to keep everything in harmony. When you get it just right, your chocolates will shine like gemstones, smooth and streak-free. Remember, each step is a brushstroke in creating a masterpiece. So, don’t rush—trust the process, and soon you’ll be turning out glossy, professional-looking treats that’ll make everyone stop and stare. Keep practicing; your perfect chocolate sculpture is just a few tempering steps away.