
When planning your walk-in cooler, you often overlook critical measurements like door clearance, ceiling height, and pathway sizes until installation day. Forgetting to measure the width, length, and any obstructions can cause delays, costly modifications, or improper fit. Ensuring these measurements are precise from the start helps you avoid issues with access, insulation, and system compatibility. Keep going, and you’ll discover more tips to make your installation smooth and efficient.
Key Takeaways
- Measure overall space dimensions, including width, length, height, and door clearance, beforehand to ensure proper fit.
- Identify obstructions like pipes or electrical conduits that could interfere with installation.
- Confirm pathway dimensions, such as hallways and doorways, for easy component movement.
- Account for door swing clearance, hinges, handles, and surrounding space to prevent operational issues.
- Double-check ceiling height and floor dimensions to support system compatibility and proper insulation.
Are you prepared to design an efficient walk-in cooler system that meets your storage needs? If so, you’ve likely considered factors like size, insulation, and cooling capacity. But what many forget until installation day are the critical measurements that can make or break your project. Overlooking these details can lead to costly delays, inefficient energy use, and even the need for rework. Proper measurements are the foundation for a successful build, guaranteeing your cooler operates smoothly and efficiently from day one.
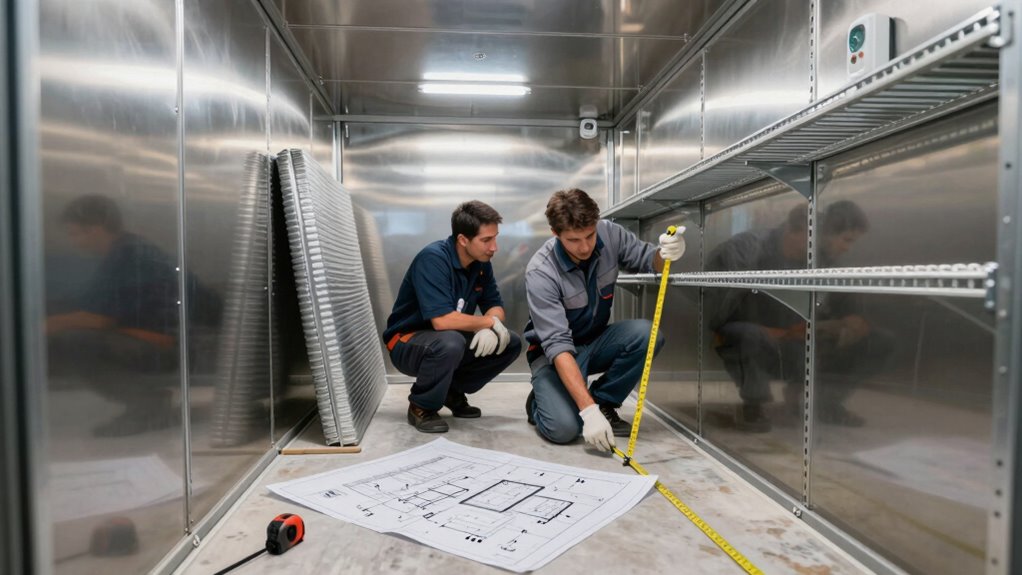
First, you need to accurately measure the available space where your walk-in will be installed. This isn’t just about width and length; you also have to account for door clearance, the space needed for hinges and handles, and any obstructions like pipes or electrical conduits. Remember, the goal is to maximize storage capacity without sacrificing functionality or ease of access. Failing to measure these details beforehand can lead to a cooler that’s either too cramped or wastes valuable space, which impacts your overall energy efficiency. Ensuring precise measurements can prevent installation errors and optimize your cooler’s design. Additionally, considering space planning can help you make the most of your available area.
Accurately measuring space, door clearance, and obstructions ensures optimal cooler fit and energy efficiency.
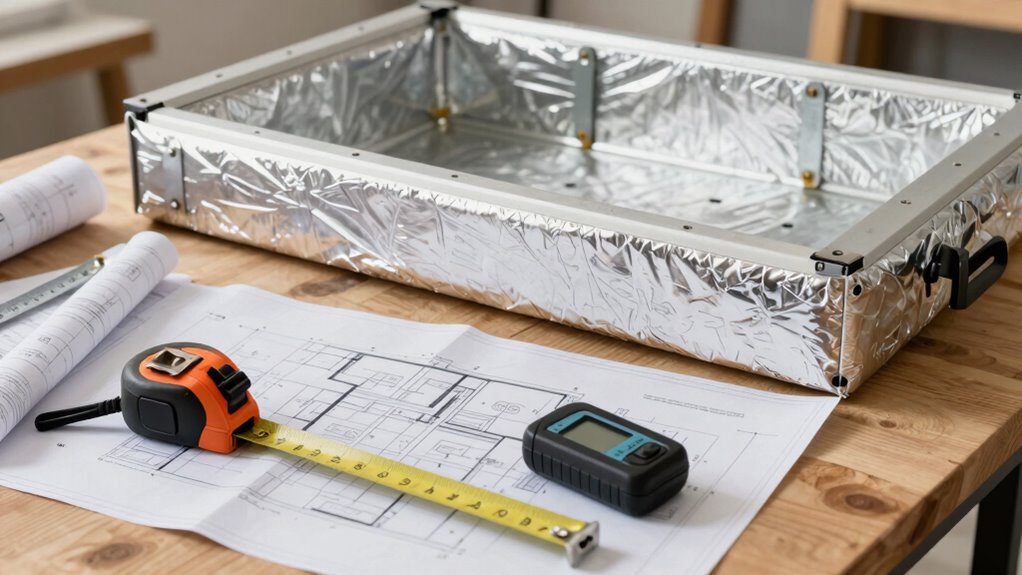
Next, pay close attention to the ceiling height and floor dimensions. These measurements are vital because they influence the type of refrigeration system you’ll install and how efficiently it will operate. If your ceiling is lower than estimated, you might face installation challenges or end up with a system that’s too large for the space. Conversely, misjudging floor dimensions can cause issues with insulation and sealing, which directly affect the cooler’s energy performance. Ensuring precise measurements helps you avoid these pitfalls and simplifies the installation process.
Another often overlooked measurement is the door size and opening clearance. Your door should be large enough to accommodate your largest items comfortably, but oversizing can lead to unnecessary energy loss. Also, consider the swing clearance and the surrounding space for door operation. An improperly measured door opening can result in installation challenges that prolong setup time and increase costs. Properly planning these measurements ensures smooth installation and maintains the energy efficiency of your cooler by reducing drafts and temperature fluctuations.
Finally, don’t forget about the pathways for installation and maintenance access. You need to measure doorways, hallways, and any other access points to confirm that your cooler and its components can be moved into position without difficulty. Ignoring these measurements can cause delays and force you to modify your setup or make costly adjustments after the fact. Additionally, clear pathways facilitate routine maintenance and future upgrades, which enhances long-term efficiency. Paying attention to these logistical details ensures your cooler remains accessible and operationally efficient over time. By paying close attention to each measurement upfront, you set the stage for a trouble-free installation, optimized energy use, and long-term operational efficiency.

Preruner Walk in Cooler Door Handle, Walk in Cooler Door Closer Complete Latch Kit, Freezer Doors Handle (Metallic Silver (304 Stainless Steel Push Rod), 1/8 in to 1/4 in(Flush))
【Who Gives You True Value?】Please note: The product you receive will have our permanent support, simply because we…
As an affiliate, we earn on qualifying purchases.
As an affiliate, we earn on qualifying purchases.
Frequently Asked Questions
How Do I Determine the Optimal Door Placement for My Cooler?
To determine the best door placement, consider the door swing and clearance space needed for easy access. Place the door where it won’t obstruct shelves or equipment, ideally near the cooler’s most accessed area. Make certain there’s enough clearance for the door to open fully without hitting walls or objects. Measure carefully, accounting for both the swing direction and any nearby fixtures, to maximize efficiency and safety.
What Safety Features Should Be Included in the Planning Phase?
Imagine walking into your cooler, knowing safety protocols are in place, and emergency exits are clearly marked and accessible. You should include safety features like panic hardware on doors, proper lighting, non-slip flooring, and alarm systems that alert you to temperature fluctuations or breaches. These measures guarantee quick evacuation if needed, keeping everyone safe. Planning these features early assures a secure environment and peace of mind during daily operations.
How Do Ambient Temperature and Humidity Affect Measurements?
Temperature fluctuations and humidity control considerably impact your measurements. When ambient temperature varies, it can cause materials to expand or contract, leading to inaccurate size assessments. High humidity levels can cause moisture buildup, affecting insulation and structural integrity. You need to account for these factors during planning to guarantee precise measurements. Properly monitoring and adjusting for temperature and humidity fluctuations helps maintain accuracy and ensures your walk-in cooler operates efficiently and reliably.
What Are Common Measurement Mistakes During Cooler Installation?
During cooler installation, you often make measurement mistakes like improper temperature calibration and overlooking insulation integrity. You might forget to verify that temperature sensors are correctly calibrated, leading to inaccurate readings later. Additionally, neglecting insulation checks can cause temperature fluctuations, affecting system efficiency. To avoid these errors, double-check calibration settings and thoroughly inspect insulation to make sure it’s intact and properly installed, guaranteeing peak cooler performance.
How Often Should Cooler Measurements Be Re-Verified Post-Installation?
You should re-verify cooler measurements at least quarterly after installation, as 30% of systems experience temperature calibration drift over time. Regular checks ensure proper temperature control, maintaining food safety standards. Also, review ventilation requirements to prevent temperature fluctuations and humidity issues. Frequent re-verification helps catch issues early, avoiding costly repairs and assure your cooler operates efficiently, keeping your products safe and fresh.

Walk-In Cooler Gasket Replacement Kit for U.S. Cooler Brand – Standard Width, Tall Door 35-3/4″ × 96-1/4″ On-site customizable trimming
This U.S. Cooler standard-width, tall-door (>76") gasket replacement set works with U.S. Cooler doors and many other brands…
As an affiliate, we earn on qualifying purchases.
As an affiliate, we earn on qualifying purchases.
Conclusion
Remember, detailed planning is your blueprint for success. I once watched a chef meticulously measure ingredients only to realize she’d forgotten to account for the fridge’s door clearance. The same applies to cooler systems—small overlooked measurements can turn a smooth installation into a costly fix. Think of your planning as drafting a map; the more precise your measurements, the smoother your journey. Don’t leave the details to chance—measure twice, install once.

Elite Kitchen Supply Walk-In Refrigerator Cooler Cooling System, 4 HP, 8800W Cooling Capacity, Wall-Mounted Refrigerated Unit, Model HGZ-400, with Air Cooler
HIGH COOLING CAPACITY: This wall-mounted refrigerated unit delivers 8800W of cooling power, ideal for walk-in cooler and freezer…
As an affiliate, we earn on qualifying purchases.
As an affiliate, we earn on qualifying purchases.
Preruner Walk in Cooler Door Handle, Walk in Cooler Door Closer Complete Latch Kit, Freezer Doors Handle (Metallic Silver (304 Stainless Steel Push Rod), 1/8 in to 1/4 in(Flush))
【Who Gives You True Value?】Please note: The product you receive will have our permanent support, simply because we…
As an affiliate, we earn on qualifying purchases.
As an affiliate, we earn on qualifying purchases.