
To design ADA-compliant restrooms, guarantee doorways are at least 32 inches wide and maintain clear paths of at least 36 inches for easy wheelchair access. Place fixtures like toilets and sinks at proper heights, and incorporate grab bars, accessible signage, and tactile features. Use durable, slip-resistant materials, and plan your layout for maximum maneuverability and safety. Keep these guidelines in mind to create a functional, user-friendly restroom—exploring further offers valuable insights for perfect compliance.
Key Takeaways
- Ensure doorways are at least 32 inches wide and open outward or sliding to maximize accessible circulation space.
- Position fixtures within 16-19 inches from side walls, with appropriate height and grab bars for ease of use.
- Maintain clear pathways of at least 36 inches wide and a 60-inch turning radius for wheelchair maneuverability.
- Use durable, non-slip, moisture-resistant surfaces and impact-resistant wall finishes to enhance safety and longevity.
- Incorporate accessible signage with tactile, braille features, high contrast, and ensure fixtures are reachable and properly illuminated.
Understanding ADA Requirements for Restrooms
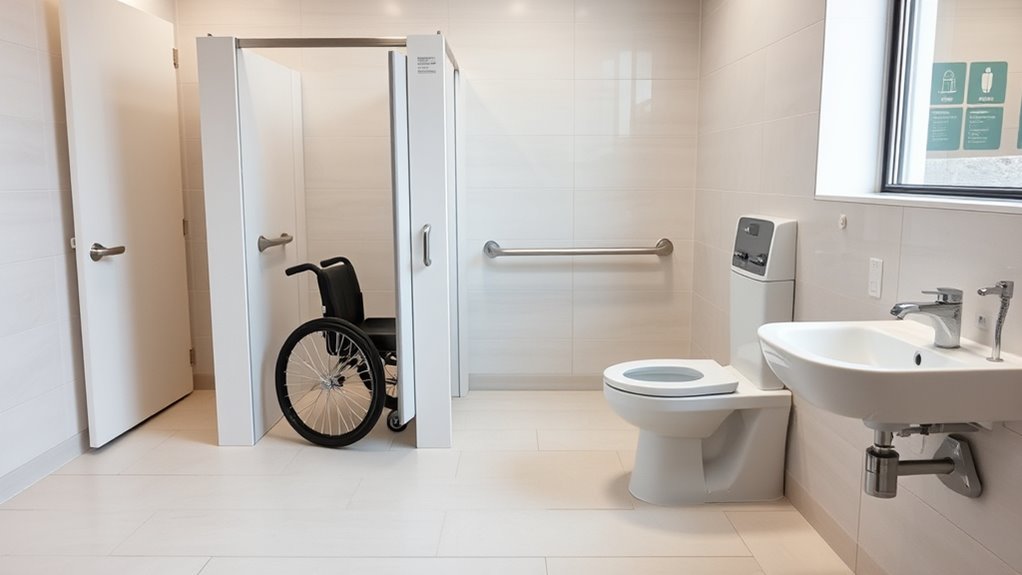
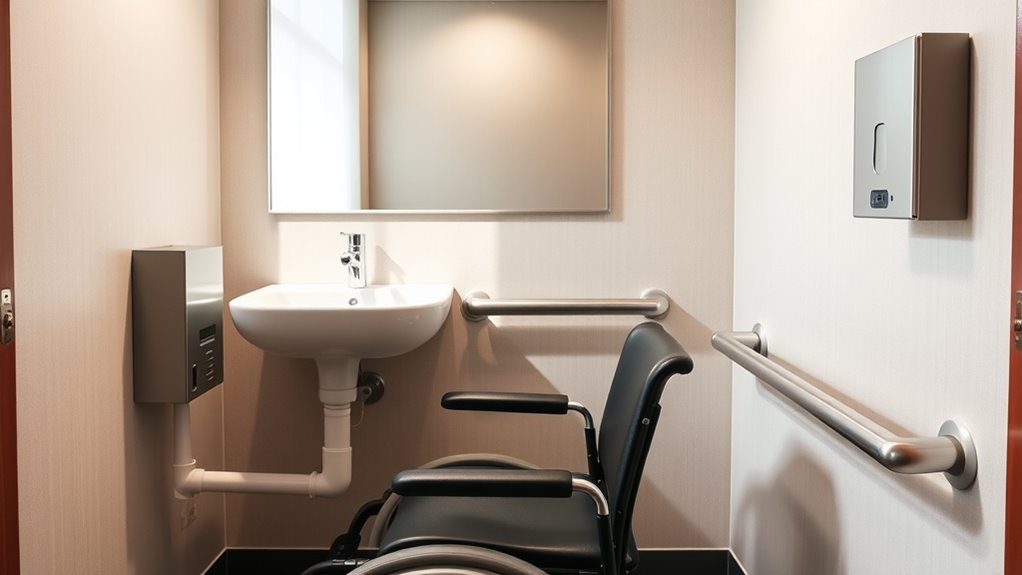
Understanding ADA requirements for restrooms is essential to ensuring they are accessible to everyone. You need to familiarize yourself with the specific dimensions and features mandated by the ADA to create inclusive spaces. For example, doorways should be at least 32 inches wide to accommodate wheelchairs, and clear floor space must be sufficient for turning. You also need to contemplate fixtures, such as sinks and toilets, which must be positioned at accessible heights—generally between 17 and 19 inches from the floor. Grab bars are required around toilets, and sinks should have knee clearance underneath. Additionally, home theatre projectors with high contrast ratios can be used to improve visibility for users with visual impairments. By knowing these basic requirements, you can ensure your restroom design complies with ADA standards, making facilities usable for all individuals, regardless of their mobility challenges.
Key Design Elements for Accessibility
Designing accessible restrooms involves carefully selecting key features that support diverse needs. You should guarantee doorways are wide enough—at least 32 inches—to accommodate wheelchairs comfortably. Lever handles are preferable over knobs because they’re easier to operate. Clear, unobstructed turning spaces—minimum 60 inches in diameter—are essential for mobility. You also need to incorporate accessible fixtures, such as lower sinks and toilets with grab bars, to assist users with limited mobility. Bright, glare-free lighting improves visibility, and contrasting colors help users identify fixtures easily. Signage should be clear and visible, with tactile or braille features for those with visual impairments. Additionally, choosing Vetted products ensures compliance with ADA standards and enhances overall safety and usability. By focusing on these elements, you create a restroom environment that’s functional, inclusive, and compliant with ADA standards.
Layout and Space Planning Considerations
When planning your restroom layout, you need to guarantee clear circulation paths so users can move easily without obstructions. Providing adequate turning space is essential for wheelchair users to navigate comfortably. Additionally, placing doors properly helps maximize space and prevent congestion, making the restroom more accessible for everyone. Considering family background influences can also help in designing inclusive spaces that accommodate diverse user needs.
Clear Circulation Paths
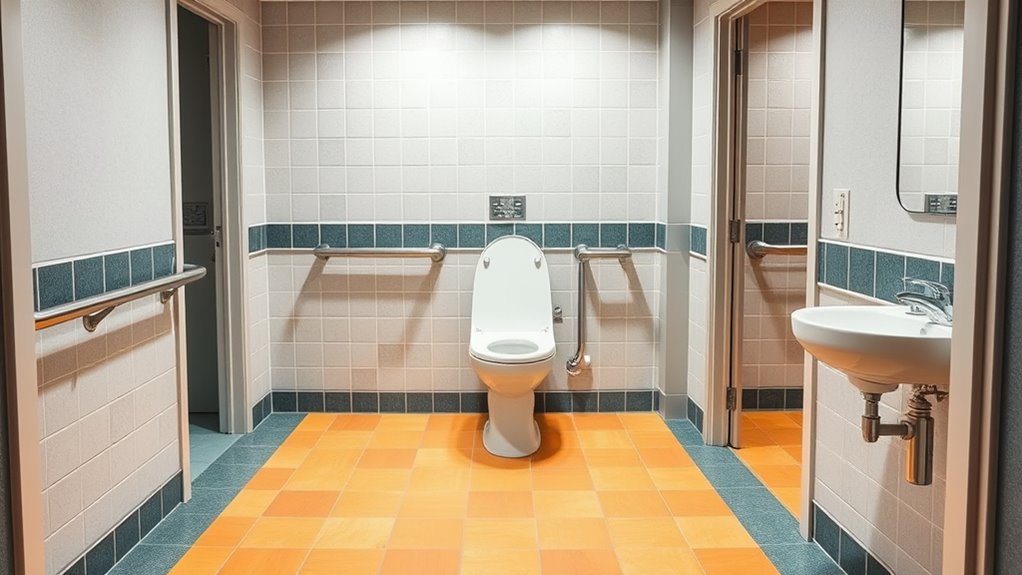
To guarantee accessible and efficient use of ADA-compliant restrooms, it’s vital to establish clear circulation paths that facilitate easy movement for all users. Make certain pathways are wide enough—at least 36 inches—to accommodate wheelchairs and mobility devices comfortably. Avoid obstructions like fixtures, partitions, or furniture in these paths, and keep them free of clutter. Proper layout directs users smoothly from the entrance to fixtures, sinks, and exits without obstruction. Consider the placement of elements so that there’s a logical flow, minimizing backtracking or awkward navigation. Good circulation space reduces the risk of accidents and ensures equitable access. Regularly review your restroom layout, seeking feedback from users if possible, to identify and eliminate any barriers to movement. Additionally, understanding space planning considerations can greatly enhance the overall accessibility and functionality of the restroom.
Adequate Turning Space
Making certain of adequate turning space is vital for the safe and independent use of ADA-compliant restrooms. You need to provide at least a 60-inch diameter circle or a T-shaped area for wheelchair users to turn comfortably. Proper planning prevents congestion and guarantees ease of movement. Consider these key points:
- Allocate clear, unobstructed floor space in front of fixtures
- Avoid placing obstacles that block turning paths
- Ensure the space between fixtures allows for smooth maneuvering
- Use reflective or contrasting finishes for better visibility
- Position fixtures and accessories to maximize available space
Proper Door Placement
Proper door placement is essential for maintaining accessible and efficient restroom layouts. You should position doors so they don’t block essential clearance space, allowing wheelchair users to enter and exit comfortably. Swing doors should open outward or slide to save interior space and prevent obstructions. Ensure doors are wide enough—at least 32 inches clear opening—to accommodate mobility devices. Keep the door hardware simple and accessible, such as lever handles, to facilitate easy operation. Avoid placing doors directly in front of fixtures or sinks, which can hinder movement. Instead, position doors to maximize usable space and provide clear pathways. Proper door placement not only improves accessibility but also streamlines restroom flow, making it safer and more comfortable for all users. Incorporating accessible door hardware can further enhance ease of use and compliance with ADA standards.
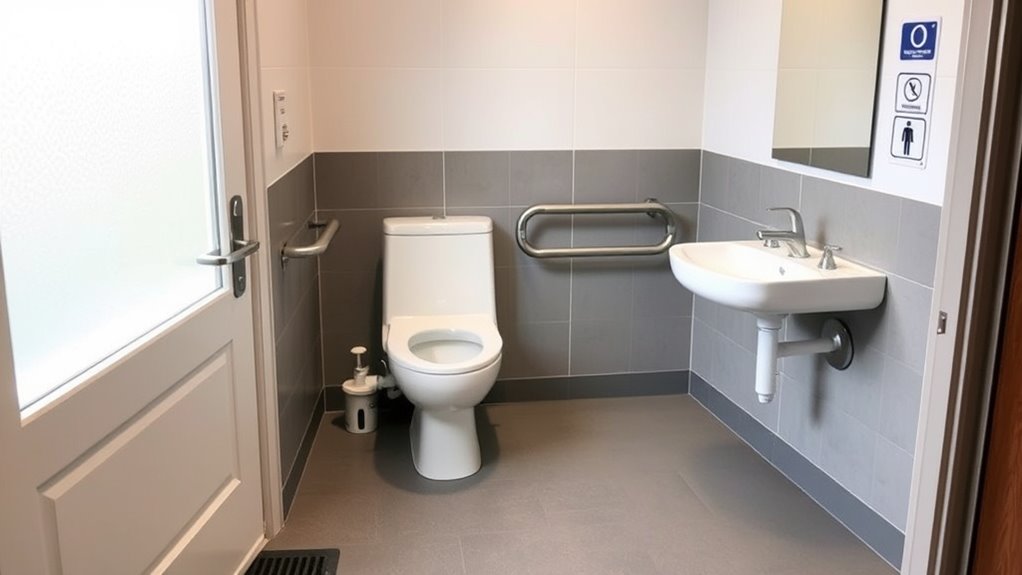
Fixture Placement and Height Standards
You need to guarantee fixtures are positioned at the correct heights and locations to be truly accessible. Following established guidelines for placement helps users with diverse needs navigate comfortably. Let’s explore how ideal fixture heights and accessible placement make a real difference. Incorporating space optimization strategies ensures that restroom layouts are both functional and accommodating for all users.
Optimal Fixture Heights
Setting the right fixture heights is essential for making restrooms accessible and comfortable for all users. Proper heights ensure ease of use, especially for people with disabilities or limited mobility. The ADA recommends specific height ranges for fixtures, but adjustments may be needed based on user needs. Keep in mind:
- Toilets should be 17-19 inches from the floor to the top of the seat
- Sinks should be mounted no higher than 34 inches from the floor
- Clear knee space of at least 30 inches wide and 27 inches high under sinks
- Grab bars should be installed between 33-36 inches above the floor
- Mirror bottoms should be no higher than 40 inches from the floor
- Using comfort solutions for users with limited mobility can help tailor fixture heights for better accessibility.
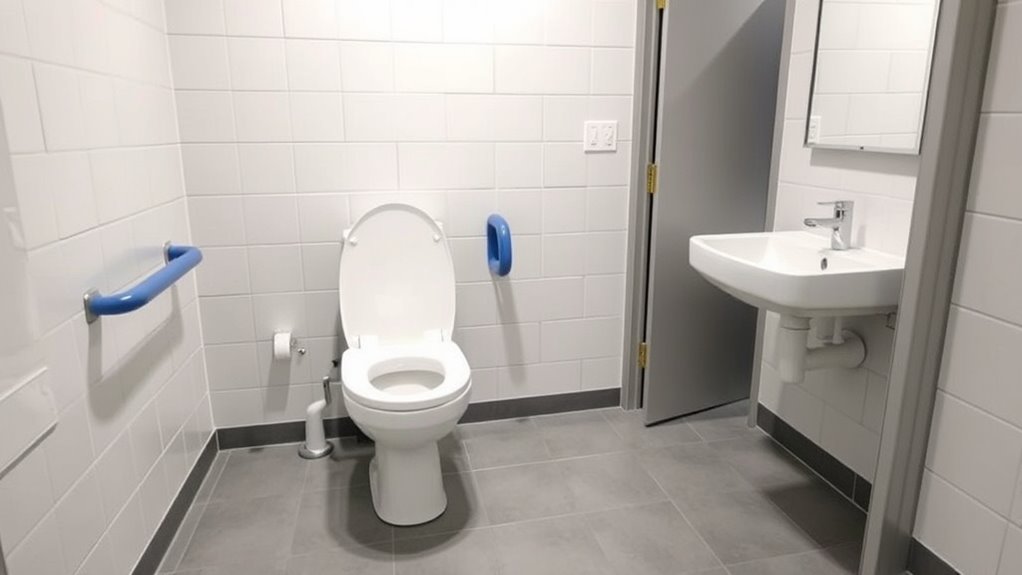
Accessible Placement Guidelines
Ensuring that fixtures are placed correctly is key to creating accessible restrooms. You need to consider clear space around fixtures and proper reach ranges. Fixtures should be positioned to allow easy access without obstruction, complying with ADA standards. For example, the centerline of accessible fixtures must be between 16 and 19 inches from the side wall or partition. To help visualize, here’s a quick guideline:
| Fixture | Placement Standards |
|---|---|
| Toilet | 16-19 inches from side wall, 17-19 inches high |
| Sink | Max 34 inches height, with 17-19 inches reach |
| Grab Bars | 33-36 inches above the floor |
| Door Handles | Operable with a 48-inch clearance |
Proper placement ensures comfort and accessibility for all users.
Materials and Finishes for Durability and Safety

Selecting the right materials and finishes is essential for creating ADA-compliant restrooms that are both durable and safe. You need surfaces that withstand frequent use, resist moisture, and prevent slips. Choosing non-slip flooring like textured vinyl or sealed concrete helps reduce falls. Use corrosion-resistant fixtures and hardware to ensure longevity in wet environments. For walls, opt for easy-to-clean, impact-resistant surfaces such as high-pressure laminate or sealed drywall. Avoid materials that crack or chip easily. Consider finishes that minimize glare and are non-toxic, promoting safety and comfort. Incorporating durability standards into material selection ensures long-term performance and safety compliance.
Best Practices for Signage and User Comfort
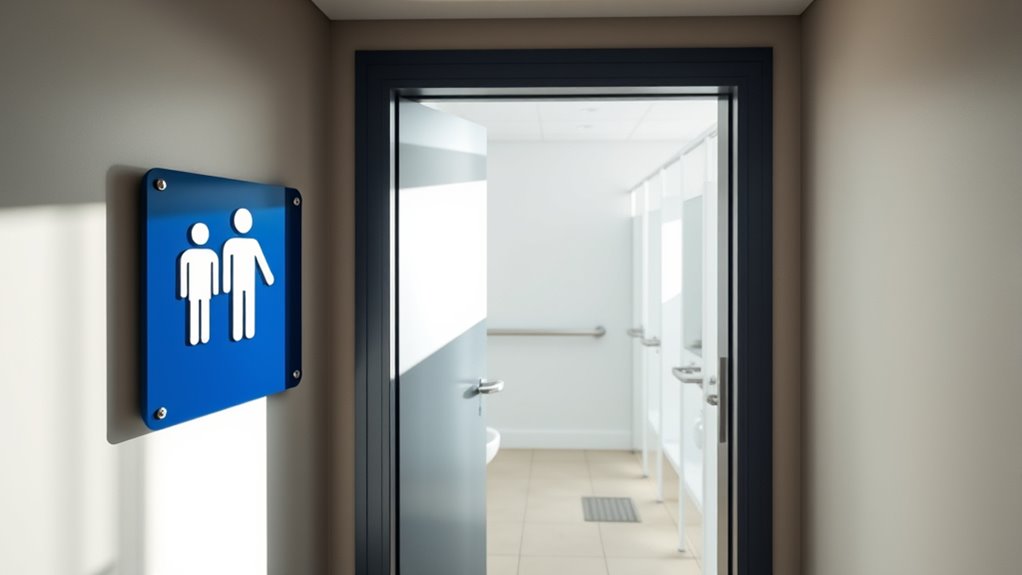
Clear and accessible signage plays a vital role in creating user-friendly ADA-compliant restrooms. Use high-contrast colors and large, legible fonts to guarantee signs are easy to read. Position signs at eye level and near entrances, so they’re immediately visible. Incorporate universal symbols, like the wheelchair icon, to communicate accessibility clearly. Consider tactile and Braille signage for users with visual impairments. Keep signage simple and uncluttered, avoiding unnecessary information. Comfort also involves thoughtful layout and fixtures; guarantee ample space for maneuvering, especially for wheelchair users. Maintain a consistent signage style throughout the restroom to reduce confusion. Proper signage and thoughtful design help all users navigate comfortably and confidently, making your restroom more inclusive and welcoming. Including diverse signage types ensures that your restroom accommodates a variety of needs and enhances overall accessibility.
Frequently Asked Questions
How Can I Ensure My Restroom Is Accessible for All Disabilities?
To guarantee your restroom is accessible for all disabilities, you should evaluate and incorporate features like wide doorways, grab bars, and enough turning space for wheelchairs. Make sure fixtures are reachable and easy to operate, and include visual and auditory cues for those with sensory impairments. Regularly assess your restroom’s layout and features, updating as needed, to meet evolving accessibility standards and truly accommodate everyone’s needs.
What Are Common Mistakes to Avoid in ADA Restroom Design?
Imagine overlooking a vital detail that could hinder accessibility. To prevent this, make certain your restroom doors are wide enough, and you include clear signage with tactile and visual cues. Don’t forget to keep fixtures at accessible heights and provide enough turning space. Avoid cluttered layouts, high thresholds, or poorly placed grab bars. These common pitfalls can make your restroom less welcoming—pay attention to details to create a truly inclusive space.
Are There Specific Maintenance Tips for Ada-Compliant Fixtures?
When maintaining ADA-compliant fixtures, you should regularly check for proper operation and guarantee they stay accessible. Keep fixtures clean and free of debris, and promptly repair any damage or leaks. Test controls and mechanisms to confirm they’re easy to use for all users, including those with disabilities. Consistent maintenance helps prevent ADA violations and keeps the restroom safe and functional for everyone.
How Do I Incorporate Gender-Neutral Options in ADA Restrooms?
Thinking of adding gender-neutral options is like opening a new chapter in inclusion. You should install single-stall, lockable restrooms that accommodate all users comfortably. Position signs clearly to indicate gender-neutral facilities, and guarantee they’re accessible per ADA standards. Keep pathways wide enough for wheelchairs and consider privacy features, like full-height partitions. This approach fosters equality and makes everyone feel welcome, much like a community that values diverse voices.
What Are Recent Updates or Changes to ADA Restroom Regulations?
You should stay current with ADA restroom regulations, as recent updates emphasize accessibility and inclusivity. Newer guidelines may include enhanced signage, improved door hardware, and expanded space requirements for wheelchair users. You’re encouraged to review the latest ADA standards from the Department of Justice or consult local codes to guarantee compliance. Keeping updated helps you create restrooms that are accessible, safe, and welcoming for everyone.
Conclusion
Creating ADA-compliant restrooms might seem challenging, but prioritizing accessibility benefits everyone. Proper layout, fixture placement, and clear signage guarantee all users feel safe and comfortable. Don’t let concerns about cost or complexity hold you back—investing in inclusive design improves user experience and demonstrates your commitment to accessibility. By following these guidelines, you make your space welcoming, functional, and compliant, ultimately serving a wider community with ease and confidence.