
Grinding noises from your KitchenAid Artisan Series 5 Quart Tilt Head Stand Mixer can be concerning but are often fixable with some simple troubleshooting. Understanding common causes helps you identify issues early and keep your mixer running smoothly.
In this guide, you’ll find practical steps to diagnose and resolve grinding sounds safely, ensuring your mixer stays durable and effective for all your baking needs.
Key Takeaways
| Identify the noise source | Grinding sounds can come from the motor, gears, or attachments. |
| Check for obstructions | Debris or misaligned attachments often cause grinding. |
| Inspect the gears | Worn or damaged gears need replacement. |
| Lubricate moving parts | Proper lubrication can reduce noise and wear. |
| Ensure attachments are fitted correctly | Misfitted attachments can cause grinding sounds. |

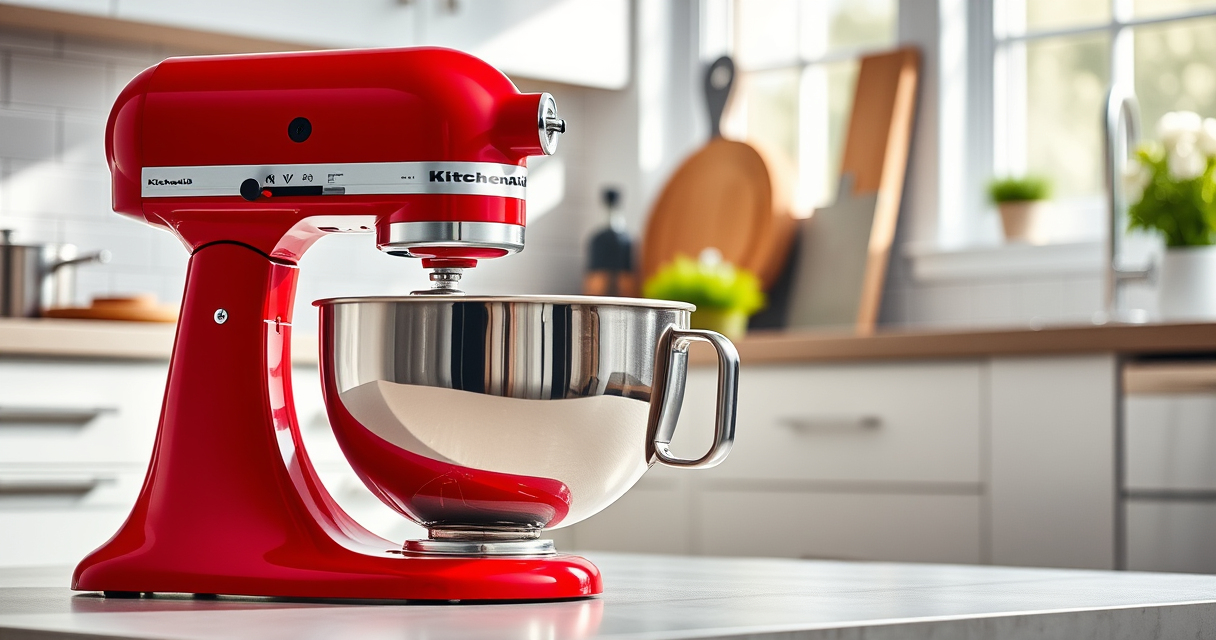
KitchenAid Artisan Series 5 Quart Tilt Head Stand Mixer with Pouring Shield KSM150PS, Milkshake
- Durable Metal Construction: Built to last with 59 touchpoints
- 5 Quart Stainless Steel Bowl: Handles small or large batches, dishwasher safe
- Tilt-Head Design: Easy ingredient addition and access to bowl
As an affiliate, we earn on qualifying purchases.
Step 1: Unplug and Inspect the Mixer
- Ensure the mixer is unplugged from the power outlet to prevent accidental activation.
- Remove attachments and the pouring shield.
- Visually inspect the attachment hub, gears, and surrounding area for debris, damage, or misalignment.
Step 2: Check Attachments and Bowl
- Ensure attachments are properly seated and locked into place.
- Verify the bowl is correctly positioned on the base.
- Look for any stuck or misaligned parts that might cause obstruction or grinding.
Step 3: Examine the Gears and Internal Components
If accessible, open the mixer housing following the user manual instructions. Inspect the gears for signs of wear, chips, or misalignment. Replace worn gears if necessary, or contact a professional for repairs.
Step 4: Lubricate Moving Parts
Apply food-grade or manufacturer-recommended lubricant to the gear shafts and moving metal parts as specified in the manual. Avoid over-lubricating to prevent excess buildup.
Step 5: Test the Mixer and Confirm Fix
- Reassemble the mixer, ensuring all parts are correctly fitted.
- Plug in the mixer and run it at a low speed to check for noise.
- If grinding persists, consider professional servicing or contacting KitchenAid support.
The Products in This Guide
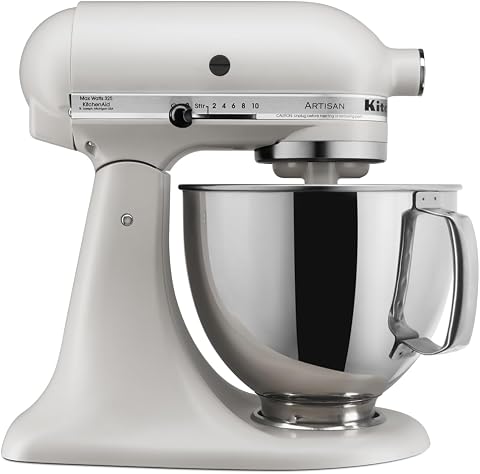
KitchenAid Artisan Series 5 Quart Tilt Head Stand Mixer
- ✔ Weight: 26 lbs
- ✔ Dimensions: 14 x 8 x 14 inches
- ✔ Power: 325 Watts

KitchenAid Stand Mixer Attachment
- ✔ Weight: 5 lbs
- ✔ Dimensions: 10 x 8 x 6 inches
- ✔ Power: Uses mixer motor
KitchenAid Artisan Series 5 Quart Tilt Head Stand Mixer
The KitchenAid Artisan Series 5 Quart Tilt Head Stand Mixer is built with durable metal construction and features 59 touchpoints for thorough mixing. It’s designed to handle a wide variety of tasks, but like any machine, it can develop grinding noises if components wear or misalign.
Pros:
- Durable metal construction
- Powerful 10-speed motor
- Generous 5-quart bowl
- Tilt-head design for easy access
Cons:
- Gears may wear over time
- Noise can indicate internal issues
- Attachments need proper fitting
Best for: Home bakers requiring a reliable, versatile mixer
Not ideal for: Heavy-duty commercial use or frequent repairs
Bottom line: A versatile, durable mixer that benefits from regular maintenance to prevent grinding noise.
KitchenAid Stand Mixer Attachment
The KitchenAid Metal Food Grinder attachment connects seamlessly to your mixer, providing an efficient way to process meats, vegetables, and more without causing internal damage or noise issues.
Pros:
- Sharp grinding plates
- Multiple grind sizes
- Easy to attach
- Large tray for batching
Cons:
- Requires pre-chilling
- Additional storage needed
- Attachment sold separately
Best for: Freshly grinding meats and vegetables
Not ideal for: For grinding large quantities continuously without maintenance
Bottom line: A robust attachment that enhances your mixer’s capabilities for fresh grinding.
Frequently Asked Questions
What causes grinding noise in my KitchenAid mixer?
Common causes include worn gears, debris caught in the mechanism, misaligned attachments, or lack of lubrication. Regular inspection and maintenance can prevent or resolve these issues.
Can I fix a grinding noise myself?
Yes, if you’re comfortable opening the housing and inspecting parts. Always unplug the mixer first, follow the user manual, and use proper tools. For internal gear replacement, professional servicing is recommended.
How often should I lubricate my mixer?
Lubrication should be done as part of routine maintenance, especially if you notice increased noise or resistance during operation. Follow the manual’s guidance for specific lubrication points.
When should I contact professional repair services?
If the grinding persists after basic troubleshooting or if internal gears appear damaged, seek professional repair to avoid further damage and ensure safety.
Keep Your KitchenAid Mixer Running Smoothly
Regular maintenance, proper attachment fitting, and prompt troubleshooting can extend the life of your KitchenAid stand mixer. Don’t ignore strange noises — addressing them early saves time and money, helping you continue creating delicious recipes with confidence.
Affiliate disclosure: As an Amazon Associate we earn from qualifying purchases. Prices and availability are accurate as of the time of publishing.